The fasteners we use today are quite new when compared to the first-ever fasteners back in 100 BC. These were the most rudimentary screws and were made of wood up until the 1800s. This is where, slowly but surely, wooden fasteners we're being replaced by wrought iron ones. Later on, in the 1860s wire nails were created and they were so popular that they ended up making 90% of all fasteners 40 years later.
All this progress resulted in the making of international standardisation for fasteners in 1964. This went on to make the fastener industry a multi-billion-dollar industry. This is why fasteners are so important nowadays since they keep everything intact. Every little moving or fixed part, especially when it comes to complex machinery such as the engine in your car.
Engine Studs vs Bolts
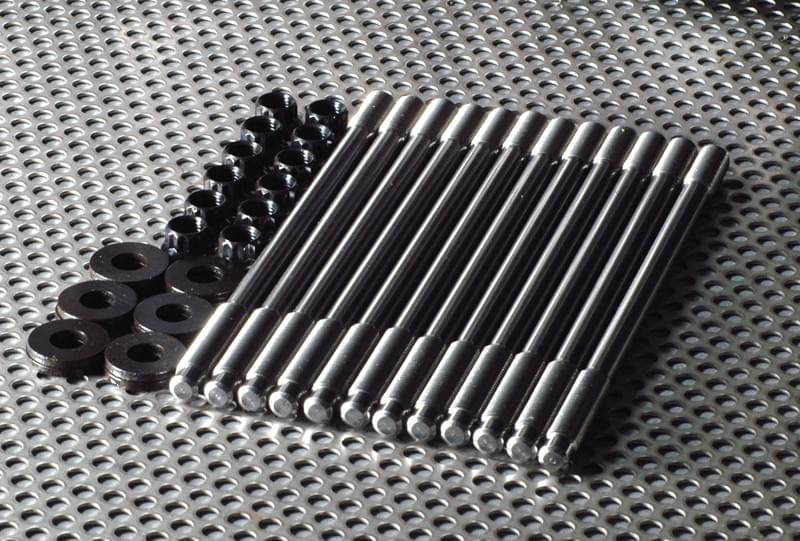
Some people call them bolts and others call them studs, but bolts and studs are not the same things. Engine bolts can be both fully or partially threaded while studs are usually threaded on both ends. Proper engine studs also often come with an unthreaded middle part along the shaft. While engine bolts have a head, car engine studs don't always come with a head. Also, studs and car engine bolts are not used in the same type of engines.

Types of Engine Fasteners by Materials
Stainless Steel
With a tensile strength rated between 11,000 and 13,000 bar, stainless steel fasteners are used in many automotive applications. This is because they are able to withstand high heat quite well and they are also resistant to rust and corrosion. But stainless steel isn't as strong as titanium.
Titanium
Titanium fasteners are heat-treated with an alloy that allows them to have a tensile strength of around 12,000 bar. Titanium is a light material but also extremely corrosion resistant which is why it is also used in the aerospace industry. Titanium is 40% lighter than stainless steel.
L19
Made to be stronger than regular steel, L19 is a premium steel material used to make fasteners that are able to withstand a clamp load of up to 18,000 bar. This is significantly higher than what titanium and stainless steel fasteners can withstand. This is why L19 is mainly used in short track applications.
ARP2000
An ARP2000 alloy steel fastener can withstand extremely high heat applications and a clamp load of 15,000 bar. While not as good as L19 fasteners, ARP2000 fasteners are still used in racing applications.
ARP 3.5
With a tensile strength between 18,000 and 19,000 bar, ARP 3.5 is used in other applications alongside the automotive industry. This includes the aerospace industry as well as in many jet engines. This is thanks to the high cobalt content which is why this super-alloy is able to take a lot of stress and heat.
8740 Chromoly
A tried and true fastener material is 8740 Chromoly. Although once considered a high strength material, nowadays 8740 Chromoly is considered to be a moderate strength material. This type of fastener is able to deliver a tensile strength between 12,000 and 14,000 bar.
AERMET
The strongest fasteners ever made are AERMET. This martensitic super-alloy has a tensile strength ranging between 20,000 and 21,000 bar. This is why AERMET fasteners are able to withstand high clamping loads and are resistant to corrosion and heat. You just need to keep everything oiled up nicely and free from moisture in order for them to last a long time.
Inconel 718
Inconel 718 is a nickel-based fastener that can withstand high temperatures and it's also immune to what is known as hydrogen embrittlement. Highly corrosion resistant and also suitable in lower temperature applications, Inconel 718 fasteners are a great alternative to AERMET fasteners.
How to Install Engine Studs

1. The first thing to do when installing engine studs is to inspect the holes in the block and clean them from dirt, oil, and debris. Otherwise, the studs will make for incorrect torque levels at a later point.
2. Next you should apply some moly-based thread lube on each stud's wider thread. Then, finger tighten the studs into the block and then bottom out the studs against the block using a hex bit. You may experience some hard areas when threading in the studs. This is normal and it only happens to half of the studs.
3. To ensure that every stud is seated properly use a dial calliper to measure the distance from the top of each stud to the block deck. The length should be the same throughout. After that's done, continue by cleaning the deck surface and removing the old gasket.
4. Next, lay the head gasket down and follow the manufacturer's torque pattern when installing the heads. Make sure that when the head gasket is laying down, you don't drag it across the studs as this can gouge a cylinder head. Once all the torquing is done you're essentially done installing the studs.
